
Beginner Crochet Series: Slip Knot, Chain, and Slip Stitch
Welcome to the first tutorial in our Beginner Crochet Series, where we’ll guide you step-by-step to build your crochet skills. In this post, you’ll learn three foundational techniques:
- How to create a slip knot
- How to crochet a chain (ch)
- How to join stitches into a square with a slip stitch(sl st)
Mastering these basics will set you on the path to creating beautiful projects. Let’s get started!
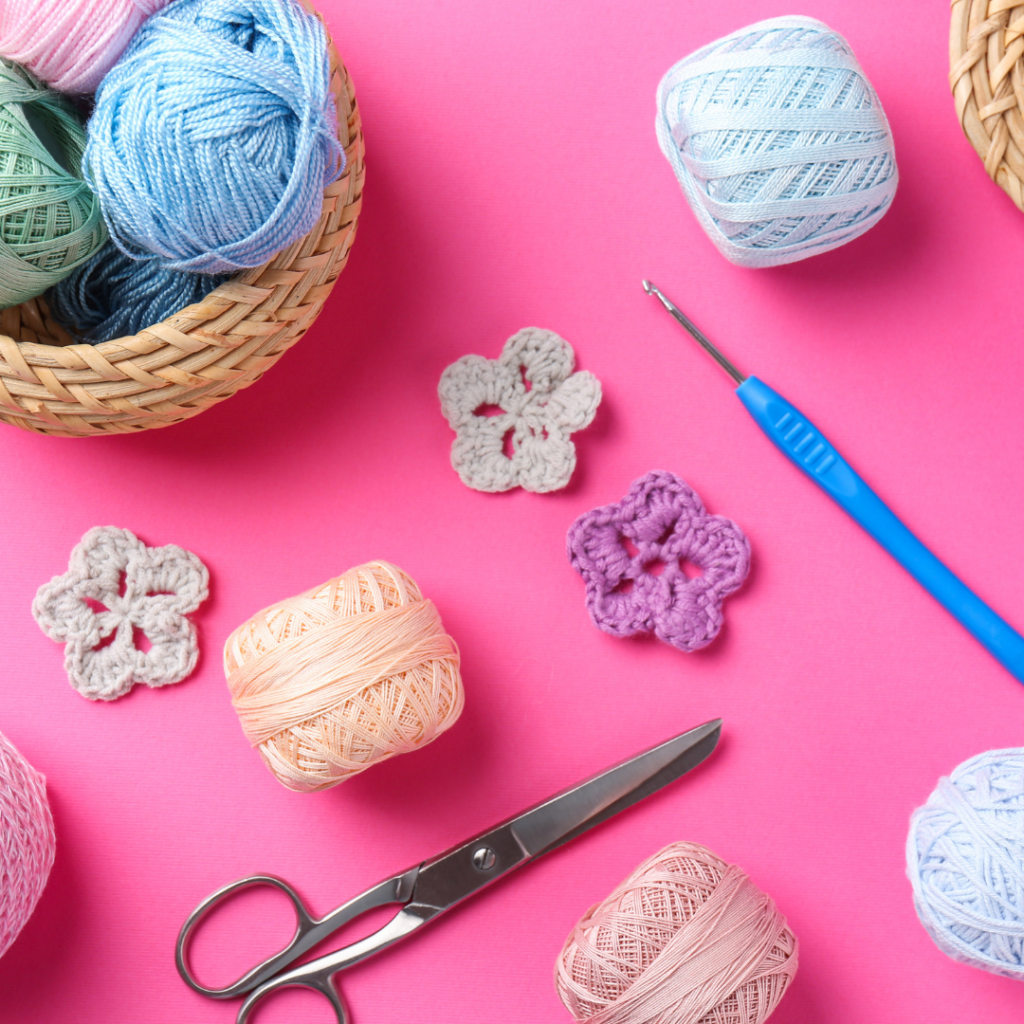
What You’ll Need
Before we dive in, gather the following supplies:
- Crochet Hook: Start with a 5mm (H-8) hook, ideal for beginners.
- Yarn: Use medium-weight yarn in a light color (easier to see your stitches).
- Scissors
Step 1: How to Create a Slip Knot
The slip knot is the first step in almost every crochet project.
Instructions:
- Hold the yarn in your left hand
- Make a loop but this time twist it once creating an X shape.
- Insert the tale of the yarn under the twisted loop.
- Pull the tail (the longer piece) through the loop to form a knot
- Tighten the knot around the crochet hook
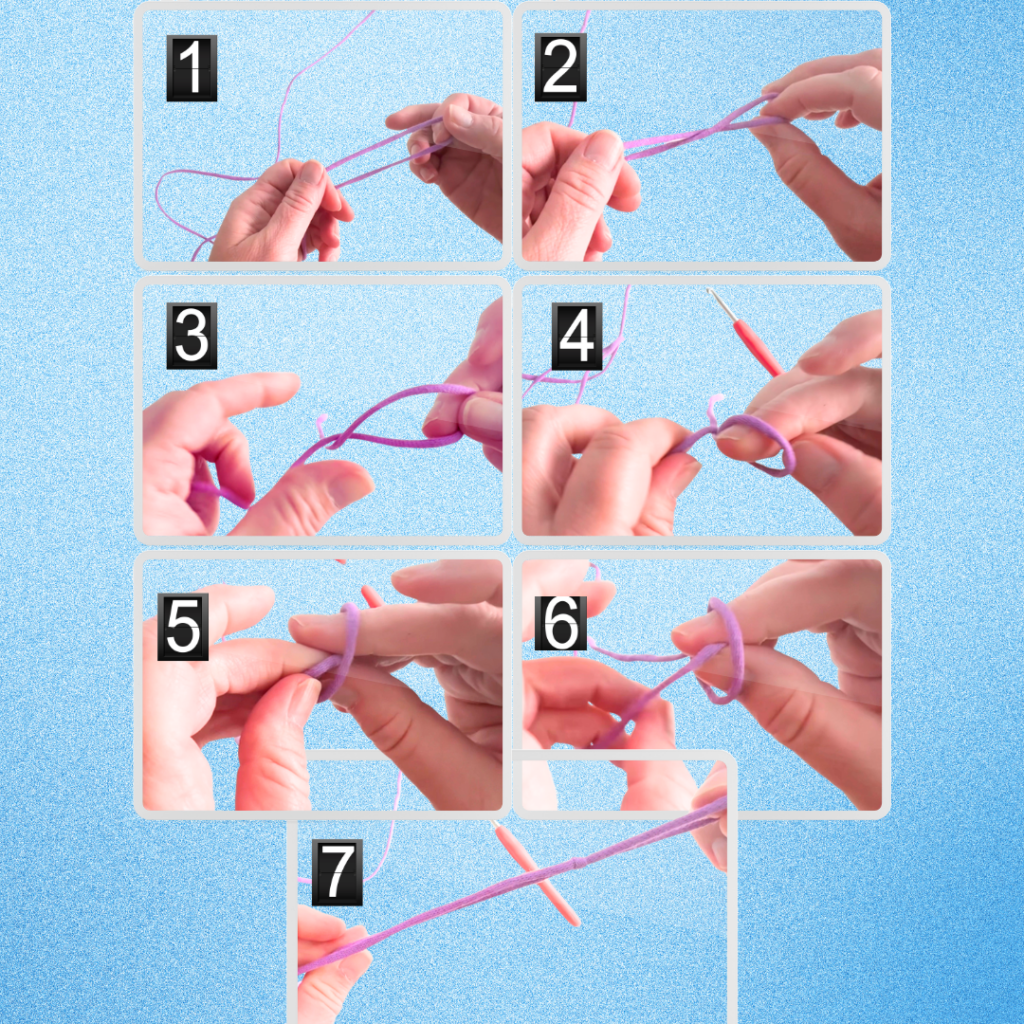
Tip: If the knot feels too tight or loose, adjust it by pulling on the yarn tail or the loop itself.
Step 2: How to Crochet a Chain
Chains are the building blocks of most crochet patterns.
Instructions:
- Hold your hook with the slip knot in your dominant hand.
- Wrap the working yarn (attached to the skein) over the hook from back to front.
- Pull the yarn through the loop on your hook. You’ve made your first chain stitch!
- Repeat the process until you have about 20 chain stitches.
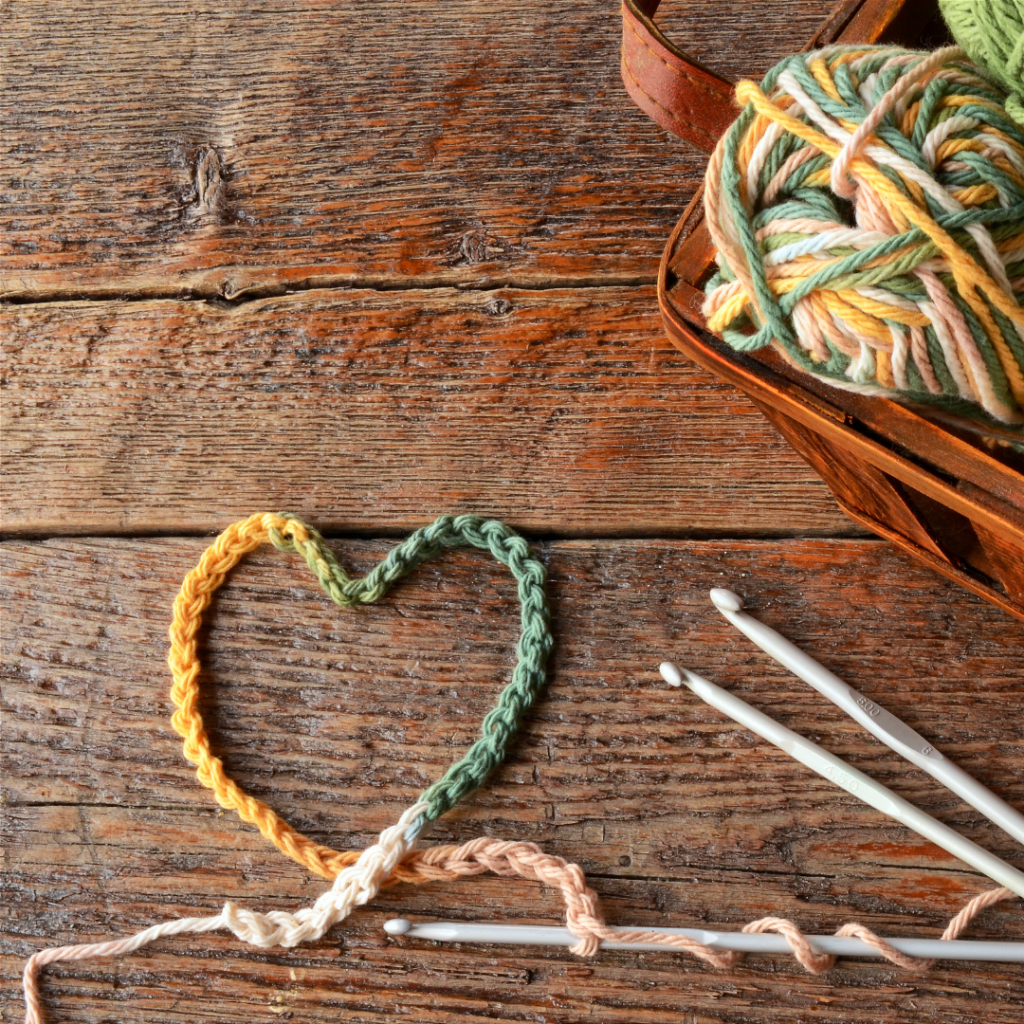
Tip: Keep your stitches loose enough to allow your hook to glide easily.
Step 3: Create a Slip Stitch
A slip stitch joins stitches together and helps create a neat edge. Let’s turn your chain into a simple square.
Instructions:
- After creating your chain, turn the chain around to work backwards, insert the hook into the first chain stitch.
- Yarn over and pull it through both the chain and then you will have two loops on the hook. Then pull the loop closest to the hook through the other loop on your hook. This creates a slip stitch.
- Continue slip stitching into the next chain stitch repeating the rows until you’ve formed a square.
- Finish by pulling the yarn tail through the final loop and tightening it.
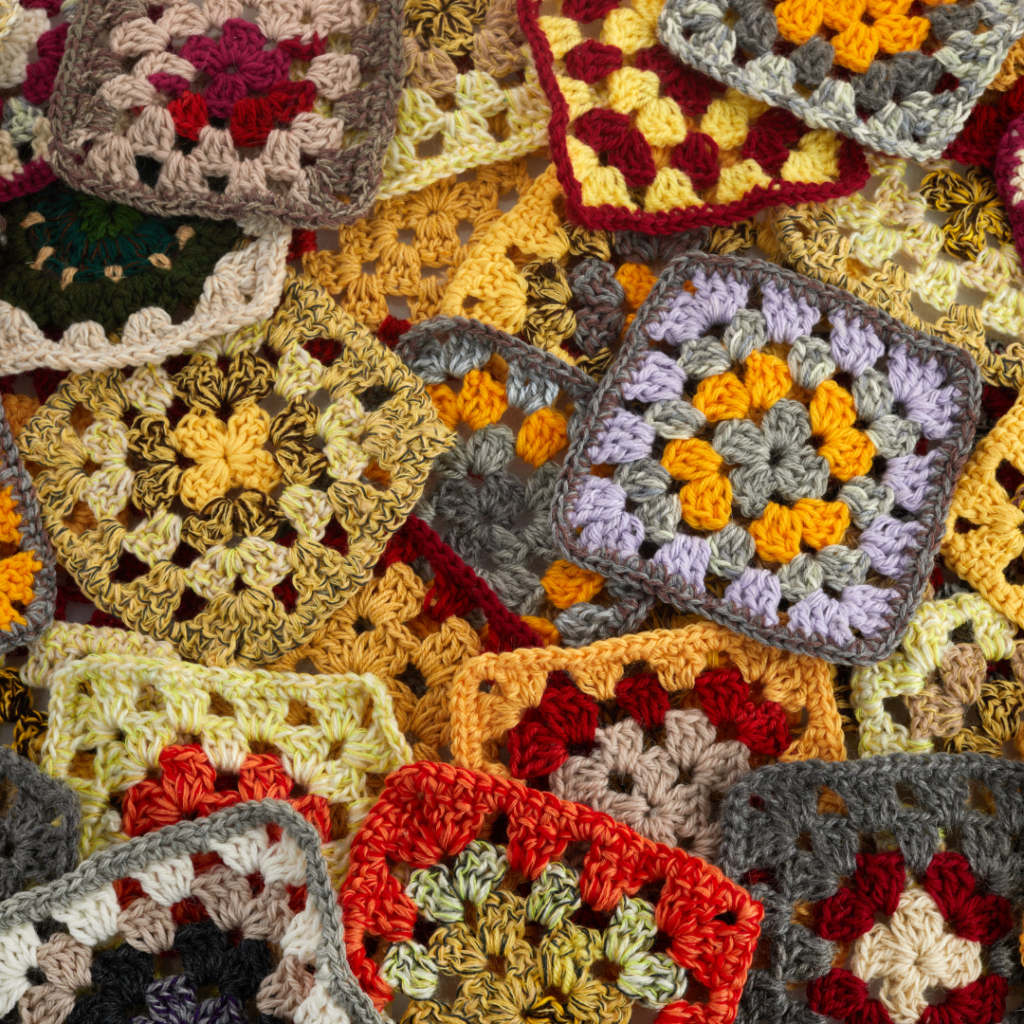
Tip: Pull the slip stitch gently for smooth edges—don’t over-tighten.
Troubleshooting Common Issues
- Chains Are Too Tight: Relax your grip on the yarn and practice pulling the loops gently.
- Slip Knots Come Undone: Ensure the knot is snug before starting your chain.
- Square Doesn’t Look Even: Focus on consistent tension and practice until your stitches are uniform.
Practice Makes Progress
Congratulations! You’ve just created your first crochet square using a slip knot, chain stitches, and slip stitches. Practice these techniques daily to build confidence and muscle memory.
What’s Next?
In the next tutorial, we’ll dive into single crochet stitches and learn how to create a simple rectangle. This will take your skills to the next level!
Join the Journey: Share your progress in the comments below or tag me on social media with your first square. Let’s crochet together!
To read the blog post about yarn tension click here
To watch the Youtube tutorial of today’s blog post click here

